Thursday
My cheap and easy version of decoupage.
With limited and very accessible resources, I am presenting a project worth sharing.
My cheap and easy version of decoupage.
With limited and very accessible resources, I am presenting a project worth sharing.

From this

To this

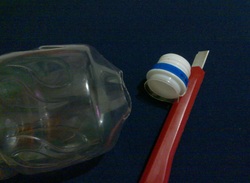
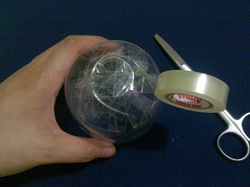
Materials used:
1. Plastic bottle (label removed, clean, and dry)
2. Some colored paper
3. Water (approximately 60 ml)
4. Paper glue or all-purpose white glue
5. ordinary plastic tape
6. Double-sided tape
7. Scissors
8. Cutter (or X-acto knife)
1. Plastic bottle (label removed, clean, and dry)
2. Some colored paper
3. Water (approximately 60 ml)
4. Paper glue or all-purpose white glue
5. ordinary plastic tape
6. Double-sided tape
7. Scissors
8. Cutter (or X-acto knife)
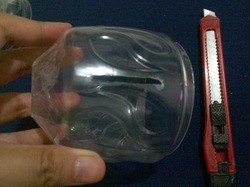
Remove the bottle's neck
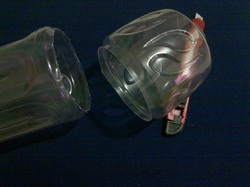
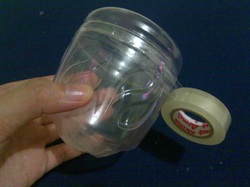
Cut top portion of the bottle (this will define the size of your piggy bank)
Cut the bottom part
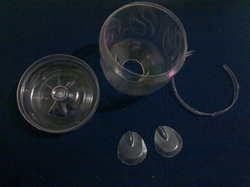
Obtain a plastic strip from the scrap about 1 cm in width and 2 rounded pieces of what would be the ears.
Shown here are the basic parts you have to prepare.
Shown here are the basic parts you have to prepare.
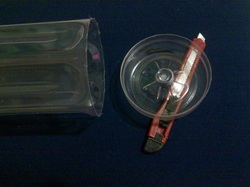
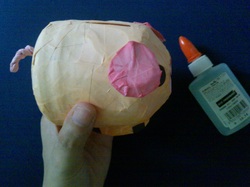
Cover the opening where you cut the spout from with plastic tape
Make a slit opening where you would drop your coins into
Attach the base of the bottle using plastic tape. Secure it well
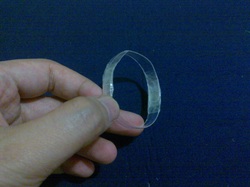
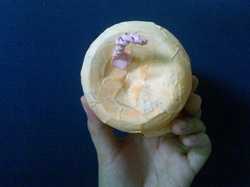
Make a ring about 3 inches in diameter out of the plastic strip you prepared earlier as shown in the photo

Attach the ring to the other side of the bottle opposite to the slit opening
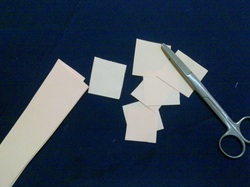
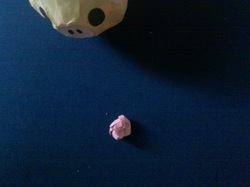
Cut pieces of colored paper (I used peach) about 1 inch square (not necessarily be of perfect squares).
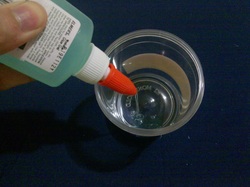
Combine 1:1 ratio of paper glue and water. Mix it well
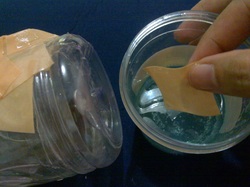
Dip a piece of paper to the glue mixture...
...and lay it flat to the body surface. (You may want to line your work area with old newspapers as this step can get a little messy)

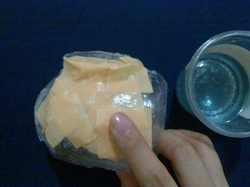
Cover the body completely and evenly (do not cover the slit opening).
Pay attention to the shape and contour of the surface by smoothening it using your fingers.
Pay attention to the shape and contour of the surface by smoothening it using your fingers.
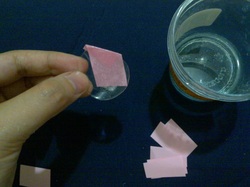
And do the same to the ears using a different color, in this particular project I used pink colored paper
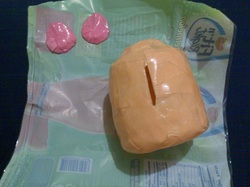
Let your project dry over night or leave it under the sun. (As you can see, I placed them on top of a plastic sheet. You don't want your project to stick to the surface of your table)
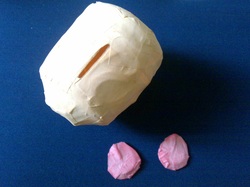
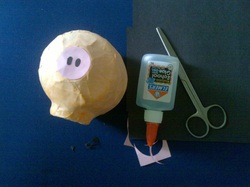
Completely dry and ready for its parts
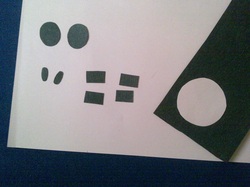
Prepare the pig's other body parts.
Get your black colored paper and cut out 2 pieces of circles 1 cm in diameter for the eyes, 2 small oval-shapes for your pig's nostrils, 4 small rectangles for the feet, and one pink circle 1 inch in diameter for the nose
Get your black colored paper and cut out 2 pieces of circles 1 cm in diameter for the eyes, 2 small oval-shapes for your pig's nostrils, 4 small rectangles for the feet, and one pink circle 1 inch in diameter for the nose
Assemble the parts using paper glue
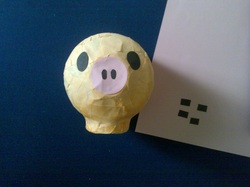
Make sure the eyes are aligned
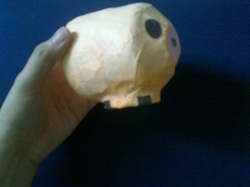
The small rectangles are glued to the sides of the base as shown
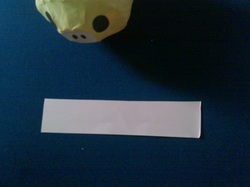
For the pig's tail, you need a 1 x 5 inches long of colored paper the same color as that of the ears
Crumple it into a ball and spread
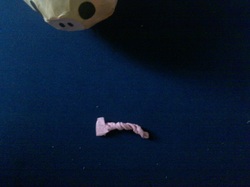
Twist the paper as shown...
...and glue it to the rear. And there's the tail
Use double-sided tape or paper glue to attach the ears to both sides of the pig's head.
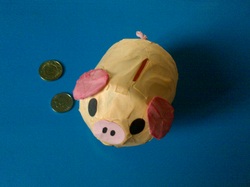
Ta-da! A green Piggy Bank!
 RSS Feed